
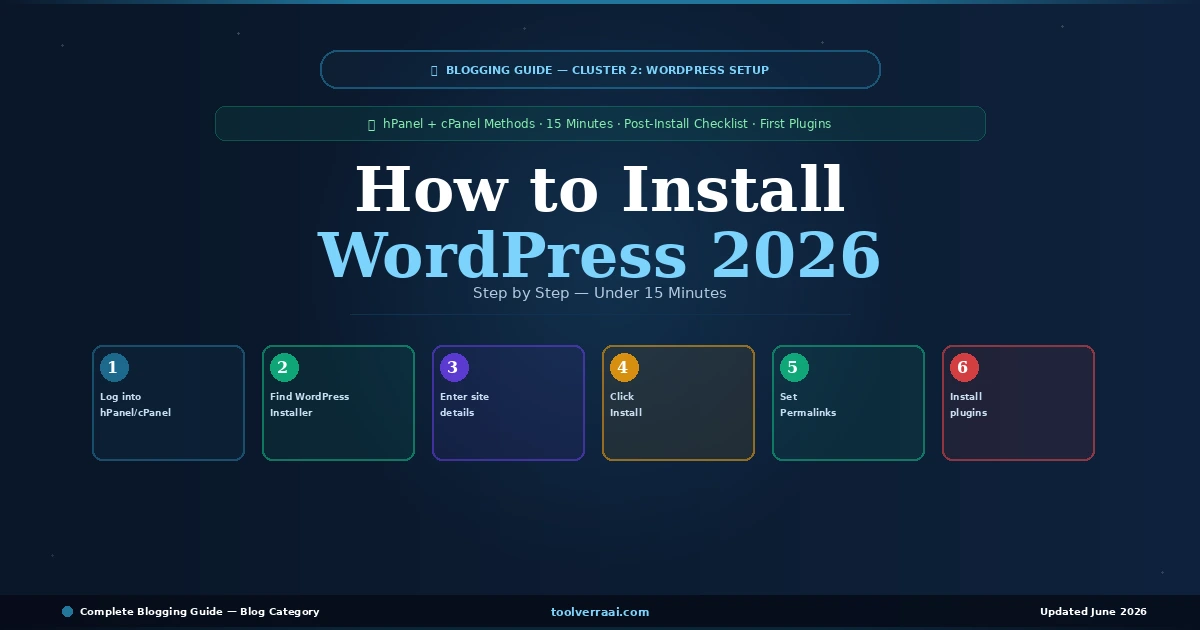
Learning how to install WordPress in 2026 takes under 15 minutes using your hosting provider’s one-click installer. WordPress.org powers 43% of all websites online — and for good reason. It is free, open-source, and the most flexible blogging platform available. This how to install WordPress 2026 guide covers two methods: the beginner-friendly hPanel one-click installer (Hostinger) and the cPanel + Softaculous method used by most other hosts.
The honest truth about how to install WordPress in 2026: the technical part is the easiest part of blogging. Modern hosting providers have automated nearly everything — you click a few buttons, WordPress installs itself, and your admin dashboard is ready. The work that matters comes after installation: choosing your theme, configuring your settings, and publishing your first articles.
🔧 Before You Start — What You Need
Before following this how to install WordPress 2026 guide, confirm you have these three things ready:
| Requirement | Where to Get It | Cost |
|---|---|---|
| Web Hosting | Best hosting for bloggers — Hostinger from $2.99/mo | From $2.99/mo |
| Domain Name | Included free Year 1 with most hosting plans | Free Y1 then $10-15/yr |
| WordPress Files | Automatically installed by your hosting — no download needed | Free always |
🟣 Method 1: How to Install WordPress via hPanel (Hostinger)
This is the recommended method when learning how to install WordPress in 2026 with Hostinger. The hPanel Auto Installer handles everything automatically — database creation, file setup, and SSL configuration in under 3 minutes.
Go to hostinger.com and click Log In at the top right. Enter the email and password you used when signing up. You will land on the hPanel dashboard — the control center for your hosting account.
In hPanel, go to the Websites section. Click Add Website or find your domain and click Manage. Look for Auto Installer or WordPress in the dashboard. Hostinger also has a WordPress Onboarding flow for brand new accounts — either method works.
Enter these details in the installer form:
- Website URL: Select your domain from the dropdown (e.g. yourdomain.com)
- Site Name: Your blog name — can be changed later in WordPress settings
- Admin Username: Do NOT use “admin” — choose something unique for security
- Admin Password: Minimum 16 characters, mix of letters, numbers, symbols — save this somewhere safe
- Admin Email: Your email address — WordPress sends important notifications here
- WordPress Language: Select English (or your preferred language)
Click Install. The installer creates your database, copies WordPress files, and configures your settings automatically. When complete, hPanel shows you two important URLs — save both:
- Your website: yourdomain.com — this is your public blog
- WordPress admin: yourdomain.com/wp-admin — this is where you manage everything
🔵 Method 2: How to Install WordPress via cPanel + Softaculous
This method works for Bluehost, SiteGround, DreamHost, and most other hosts that use cPanel. It is equally simple and takes under 5 minutes when learning how to install WordPress in 2026.
Visit yourdomain.com/cpanel or yourdomain.com:2083 in your browser. Enter the username and password from your hosting welcome email. You will land in the cPanel dashboard.
Scroll down in cPanel to the Software section. Click Softaculous Apps Installer — or search for “WordPress” in the cPanel search bar at the top. Click the WordPress icon to begin.
Click Install Now. Fill in the same details as Method 1: your domain, site name, admin username (never “admin”), strong password, and admin email. Scroll to the bottom and click Install.
Softaculous shows a completion screen with your site URL and admin URL. Click the admin URL link or type yourdomain.com/wp-admin in your browser. Enter the username and password you just created. You are now in your WordPress dashboard.
✅ Post-Install Checklist — 8 Steps After How to Install WordPress 2026
Installing WordPress is step one. These 8 steps turn a fresh installation into a properly configured blog. Complete them in order — they take about 15 additional minutes.
- Set Permalink Structure to “Post name” — Go to Settings → Permalinks → select “Post name” → Save. This gives you clean URLs like yourdomain.com/article-title instead of yourdomain.com/?p=123
- Activate SSL certificate — In hPanel or cPanel, find SSL/TLS and activate your free SSL. Then in WordPress: Settings → General → change http:// to https:// in both URL fields
- Delete default content — Delete the “Hello World” sample post and “Sample Page” from Posts and Pages sections
- Install Rank Math SEO — Plugins → Add New → search “Rank Math” → Install → Activate. Run the setup wizard
- Install a caching plugin — Hostinger: use LiteSpeed Cache (pre-installed). Others: install W3 Total Cache or WP Super Cache free
- Install a security plugin — Install Wordfence Security (free) → Activate → run initial scan
- Set your timezone — Settings → General → Timezone → select your timezone → Save
- Set a static front page or blog page — Settings → Reading → decide whether homepage shows latest posts or a static page
🔗 Set Permalinks Correctly — The Most Important Setting
Of all the settings after learning how to install WordPress in 2026, the permalink structure is the most important to get right immediately. By default, WordPress creates URLs like yourdomain.com/?p=123 — meaningless to search engines and users. Changing to “Post name” gives you yourdomain.com/your-article-title — clean, descriptive, and SEO-friendly.
Why do it now: If you change your permalink structure after publishing articles, all your existing URLs change — and any links pointing to the old URLs break. Set it correctly before publishing a single post.
🧩 First Plugins to Install After How to Install WordPress 2026
| Plugin | Purpose | Cost |
|---|---|---|
| Rank Math SEO | SEO optimization, sitemaps, schema markup | Free |
| Wordfence Security | Firewall, malware scanning, login protection | Free |
| LiteSpeed Cache / WP Super Cache | Page caching for faster load times | Free |
| UpdraftPlus | Automated backups to Google Drive or Dropbox | Free |
| Smush | Image compression on upload | Free |
| WPForms Lite | Contact form for your blog | Free |
🎯 Key Takeaways — How to Install WordPress 2026
- How to install WordPress in 2026 takes under 15 minutes using any host’s one-click installer
- WordPress.org is free — you pay for hosting and domain, never for WordPress itself
- Hostinger hPanel: Websites → Auto Installer → WordPress → fill in details → Install
- cPanel hosts: cPanel → Softaculous → WordPress → Install Now → fill in details → Install
- Never use “admin” as your WordPress username — security risk
- Post-install: set permalinks to “Post name” before publishing anything
- First 6 plugins: Rank Math, Wordfence, caching, UpdraftPlus, Smush, WPForms
- Activate SSL immediately — yourdomain.com should load as https:// not http://
- Next step: choose your WordPress theme and start writing
WordPress Installed ✅ — Next: Choose Your Theme
Blog is live — now make it look great and start publishing content
Complete Blog Setup Guide → Best WordPress Hosting →How to Install WordPress 2026 — FAQ
Previous: How to Choose a Domain Name · Next: Complete Blog Setup Guide · Best WordPress Hosting 2026